Galette des rois

Happy 2021! The 6th is king’s day and there is nothing like a galette des rois to celebrate.

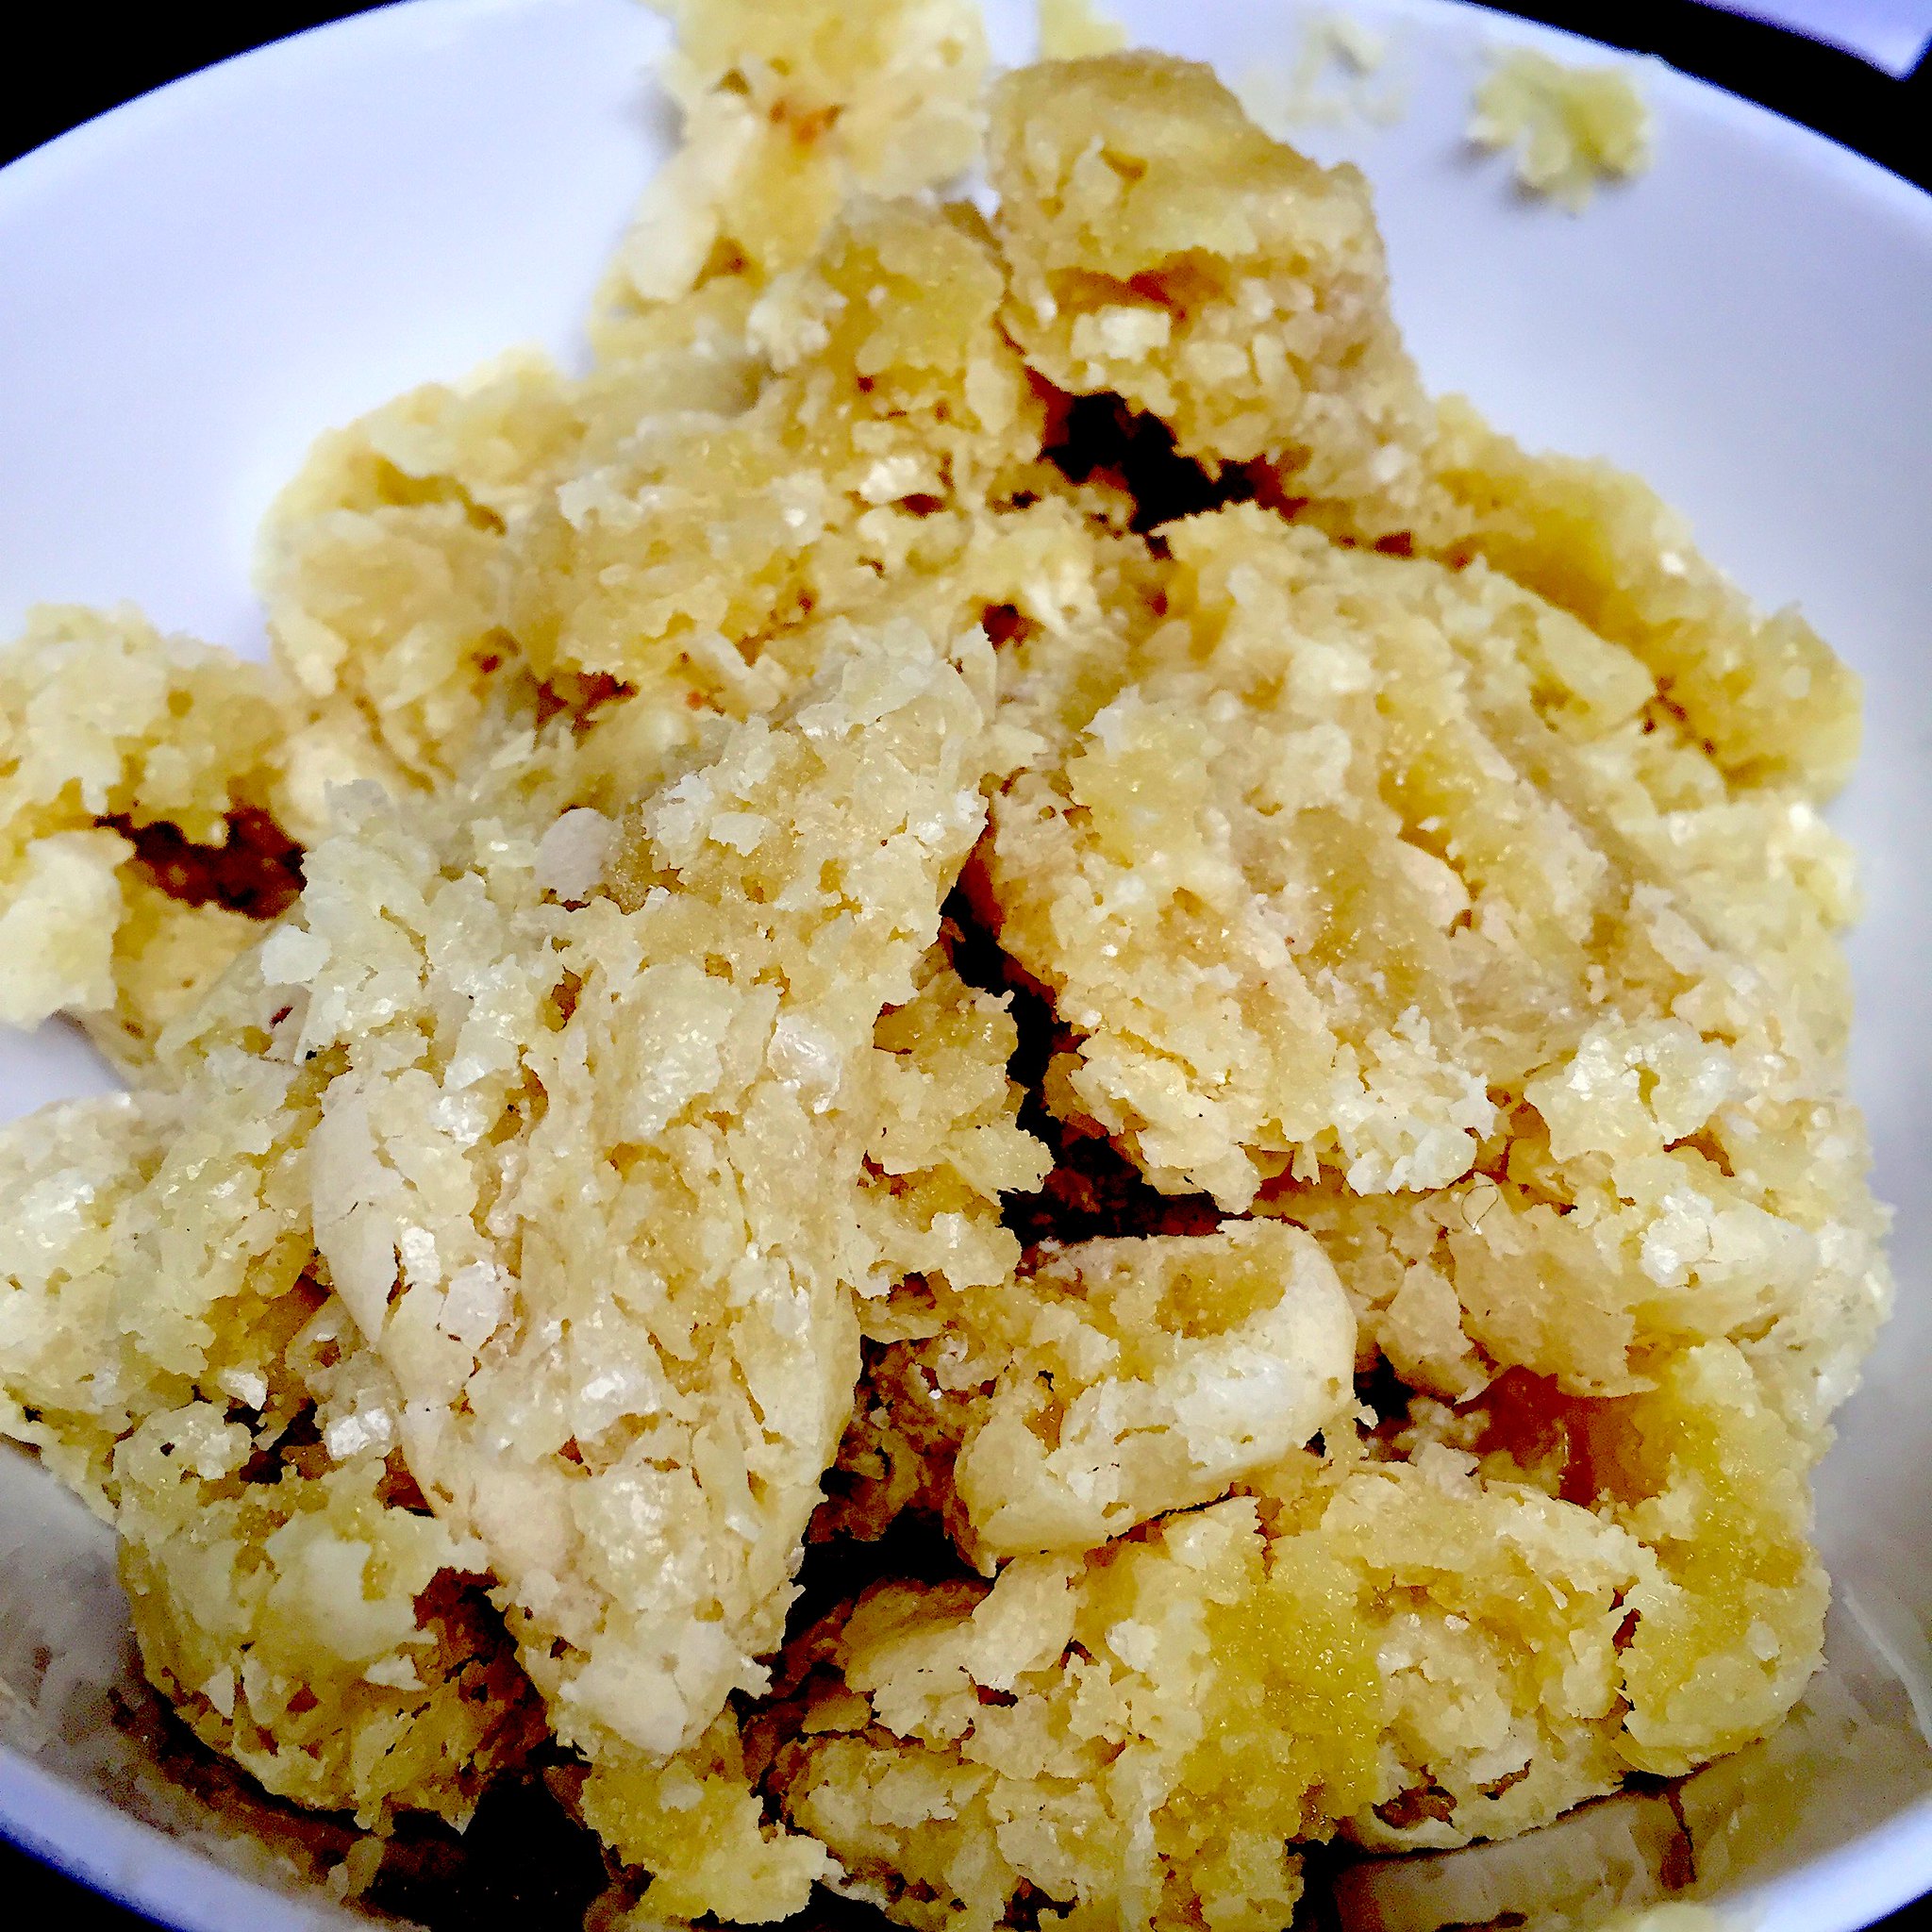
You can buy puff pastry or depending how confident you are make your own. It took me a couple tries to get it right but quite enjoy making semi rough puff pastry now. The best recipe I have found is this one and this one. Spatuladessert does amazing galette des rois including puff pastry. It has a great how to roll and fold puff pastry diagram guide.

Now for the galette des rois itself. Couple of celebrity chef recipe – David lebovitz and Raymond Blanc or French a la cart which has 3 variation recipes.

I ended mashing a bit all the recipe and adding Yuzu curd. Used a 23 cm sandwich spring tin which was really handy. I used the bottom spring as a guide to cut out the puff pastry and the inner opening as a guide for the filling. It was also handy to store puff pastry disks in the fridge.

Ingredients

  • 100 g almond flour
  • 70 g icing sugar
  • 30 g Demerara sugar
  • 1/4 tsp salt
  • Zest 1 tangerine
  • 100 g unsalted butter cubed room temperature
  • 2 large eggs room temperature
  • 2 tbsp Cointreau/ gran marinare
  • 2 tbsp Yuzu curd
  • 500g puff pastry
  • 1 feve and gold crown

Glaze

  • 1 egg yolk
  • 1tsp milk

Recipe

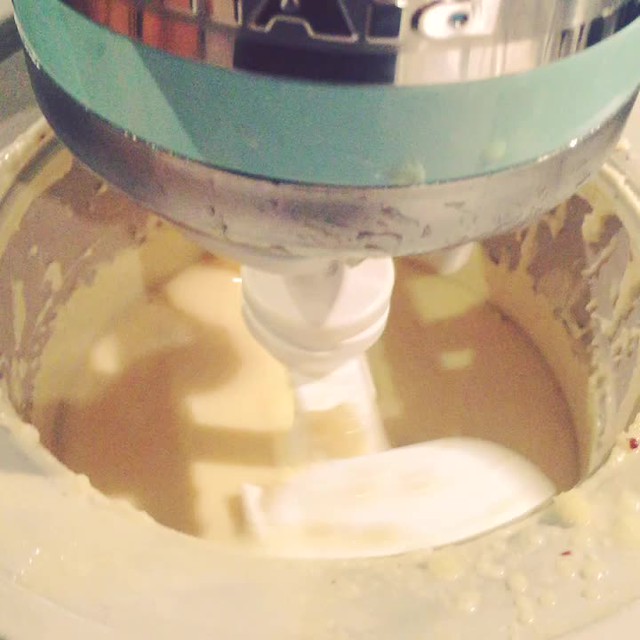
  1. Mix well almond flour + icing sugar + Demerara sugar + salt + tangerine zest. Making sure that you don’t have any clumps from the icing sugar.
  2. Cream the butter with the sugar/almond mixture.
  3. Add eggs, one at a time
  4. Add Cointreau + Yuzu curd.
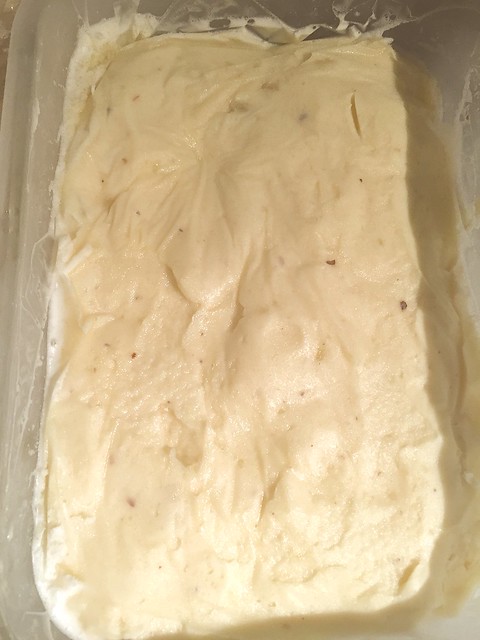
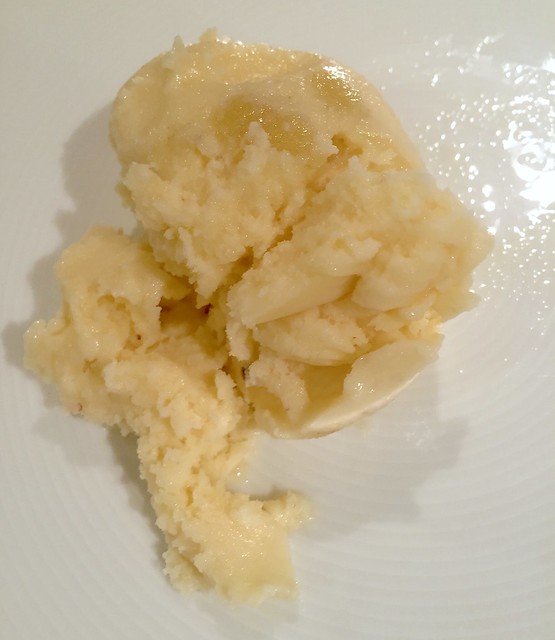
  5. You now have pate d’amande. Cover and store in the fridge.
  6. Divide your puff pastry into 2. Roll out and make two 23cm disk. Cover and refrigerate with the pate d’amande for 45min.
  7. Preheat the oven at 180C.
  8. Take one of the disk out and gently draw a circle around 20 cm. Fill the circle with the pate d’amande. Put the feve somewhere random in the pate d’amande. Wet the edges with some water and put the 2nd disk on top. Press the edges together and be carful of air bubbles.
  9. For a proper seal and classic bit of decoration, us two finger tips press down on the edge and put the blunt edge of the knife between the finger tips. Do this all the way around to get a scallop pattern edge.
  10. Mix the egg yolk + milk with a pastry brush and glaze the galette. For optional patterns, using a knife gently and making sure you don’t cut too deeply create the pattern of your choosing. The classics are swirls from the centre or my favourite lines with opposing diagonals inside.
  11. Bake for 30 min or golden brown on top.

Mincemeat Revisited- American​ version

Exploring the wonderful world of mincemeat. Thinking of creating an Italian mincemeat with amaretto and some similar flavours to panettones. I have called this the American version because it has whisky, fresh cranberries and pecans and maple syrup.

I made my own candied peel, the recipe can be found here. They are very easy to make. To get enough peels I started saving all the peels from oranges, grapefruits and satsuma I ate and put them in a bag in the freezer. The candied peel should be made 3 days before you make this recipe.

Ingredients

  • 30g raisin
  • 225g sultanas
  • 215 currants
  • 170g dates, finely chopped
  • 140g fresh cranberry, finely chopped
  •  20g stem ginger
  • 165g pecans, finely chopped
  • 175g candied peels, finely chopped
  • 90g demerara sugar
  • 70g maple syrup
  • 5 apple, peeled finely chopped
  • 50g butter
  • 200g suet
  • 2 oranges zest
  • 2 lemons zest
  • 1 grapefruit zest
  • 2 mandarins zest

Recipe

  1. In a large bowl mix well all the ingredient except the brandy together.
  2. Leave the mixture to settle in covered and in a cool place for about 12 hours.
  3. Heat the oven to 200ºC and put in your mincemeat mixture in an oven proof pan and leave in the oven 3.5 hours. It really doesn’t look pretty when it comes out but it does taste and smell delicious I promise.
  4. Leave to cool mixing it once in a while.
  5. Once cool add the brandy and mix it well.
  6. Sterilize some jars by washing them thoroughly and putting them in the oven at 180ºC for at least 5 min.
  7. Put your mincemeat in the sterilised jars. Leave in a dark cool cupboard until you need it.

Baker’s percentage! Maths! Excel!

So baker percentage is an easy way to see your baking ratio – that is except for math illiterates like me but King Arthur flour has a good math website. The WildYeast website also has even a four-part tutorial if you want to go a bit deeper. The ratio is flour based so water, salt and starter are in percentage of flour. Which makes sense really as flour is always the main ingredient. For example –

No knead rosemary polenta bread.

percentage % grams ingredient
100 800 bread flour
41.88 335 water
15 120 starter
2.75 22 salt
22.5 180 cooked polenta
12.5 100 milk

No knead work loaf.

percentage grams ingredient
100% 450 bread flour
50% 225 water
22.22% 100 starter
2.22% 10 salt

Are baker percentage intrinsic to baking bread? No, but they are great if you want to quickly and precisely calculate batches and ingredients. There is a really long discussion with lots of comment on the fresh loaf about this (it does get wonky and even a little snippy). The weekend bakery also has a dough calculator to make it easy for you.

Another use for baker percentage is too quickly and easily compare recipes by its ingredients. For example, what is the best hydration for a plain boule to get the best crumb? I have tested 70% all the way down to 45% water to flour ratio. Ie from my excel workbook –

percentage grams ingredient
highest hydration
100 450 bread flour
65 292.5 water
25 112.5 starter
2.25 10.12 salt
medium hydration
100 450 bread flour
58 262 water
25 112.5 starter
2.25 10.12 salt
driest hydration
100 450 bread flour
55 262 water
25 247.5 starter
2.25 10.12 salt

I found that for the best hydration ration is around 50%-60%. Over 60% the boule doesn’t keep its shape is more ciabatta. Under 55% you don’t really get an\y nice bubbly holes.  It is easy too quickly draw up a table and easy to set up on an excel workbook.

Anyways you don’t have to use it but it is a helpful tool for bread making and general baking because both rely so much on precise ratios.

Mincemeat​ – Christmas is coming!

My two favourite things about Christmas are crackers and mince pie. During the festive season, I can be seen scouring mince pies across London to find the best. This year I have decided to up my game and do my own. The first step towards this exciting endeavour is making mincemeat. I think the very traditional and origins of this recipe did use actual meat but most modern recipes do without it. It does use beef tallow known a suet, for vegetarians there is vegetarian suet.

You can use the mincemeat right away for pies but I am going to try to wait a couple of weeks to let it really steep.

My base recipe was Delia’s excellent homemade Christmas mincemeat. I added dates and cranberries. I also put slightly less suet and sugar. The candy peels are the ones that I made over the summer the recipe can be found here. I am going to try to do variations by substituting brandy with calvados or whisky.

Ingredients

  • 3 apples cut into small pieces
  • 2 tbsp allspice
  • 2 tsp anise star
  • 1 tsp cloves
  • 1tsp cinnamon
  • 1/4 tsp nutmeg
  • 350g raisins
  • 225g sultanas
  • 30g cranberry
  • 6 dates chopped into small pieces
  • 225g candied peels
  • 250g brown sugar
  • 200g suet
  • Zest of 2 oranges
  • Zest of 2 lemons
  • 200g crushed almonds
  • 7 tbsp brandy

Recipe

  1. In a large bowl mix well all the ingredient except the brandy together.IMG_9180

2. Leave the mixture to settle in covered and in a cool place for about 12 hours.

3. Heat the oven to 200ºC and put in your mincemeat mixture in an oven proof pan and leave in the oven 3.5 hours. It really doesn’t look pretty when it comes out but it does taste and smell delicious I promise.

IMG_9193

4. Leave to cool mixing it once in a while.

5. Once cool add the brandy and mix it well.

6. Sterilize some jars by washing them thoroughly and putting them in the oven at 180ºC for at least 5 min.

7. Put your mincemeat in the sterilised jars. Leave in a dark cool cupboard until you need it.

Cha- cha cha lla llallah 🎶

This is a bit of a through back to last year when I did challah. it was interesting…. the shape had not kept. It was a tasty blob. Dare I say I think my bread skills has been improving since I started this blog.

222

Challah has such a deep history that I absolutely love and there is so much variation to the recipe. Safron and other spices can be found in some parts of the world. Not being part of that faith of tradition I still love it. This recipe is quirky as it uses coconut oil, whereas vegetable or olive oil would be more the traditional oils you would find. I love coconut oil vs other types of oil in the kitchen. It has a great advantage over other oils like a high smoke point. For example again super not tradition but for Yorkshire it is amazing. In my Christmas dinner taste test it won against olive and vegetable oil.

Another slightly atypical ingredient is sugar. I think it is more traditional to just use honey. The only reason I have used sugar is that I now have loads of citrus sugar from doing candied sugar. It is really lovely as small little pieces of candied citrus chunks that sometimes pops up in the challah.

I like having challah for breakfast which again ignores its history totally of being a Jewish holiday bread which absolutely intricate to the ceremony of it which really amazing. I love the dictum set to how to cook and company and you can find loads of article on that. It is very much the simpler less gourmandise version of brioche. I love brioche but it can somewhat rich if you are having for breakfast, a bit too much a sugary treat to start your day.

This makes quite a big braided chunk which can be made into delicious french toast.IMG_7874

I pretty much got my recipe from Bk17 Bakery’s challah recipe. The recipe also gives you the option of adding a tahini filling which looks amazing. There is also challah chocolate tahini recipe from 600 acres, which again looks amazing. Traditional middle east spices like cardamon and saffron can also be added. Sourdough home also has an excellent recipe post on sourdough challah with a bit of way traditional challah can’t use milk and a bit more what is kosher which is really interesting. For the ever important braiding, there are loads of youtube tutorials. There is even one with colour coded strands.

IMG_7824IMG_7826

Troubleshooting tip- hydration matters. Don’t use flour on your surface when you are braiding as this will dry out the dough too much. If your dough is too dry the braids will crack. If it is too wet it won’t keep it shapes.

Quick note – your starter should have been feed around 4-6 hour prior and should be really active and bubbly.

Ingredients:

  • 280 g sourdough starter, really bubbly and active
  • 175 g water
  • 35g sugar
  • 20 g honey
  • 40 g  coconut oil
  • 2 large eggs + 3 yolks
  • 15 g sea salt
  • 375 g all-purpose flour
  • 375 g white bread flour

EGG WASH:

  • 1 egg yolk
  • Dash of water
  • 1 teaspoon honey
  • sesame, poppy, or nigella seeds and/or coarse sugar like palm sugar (optional)

Recipe

  1. In a large bowl mix well starter + water + honey + sugar +oil +eggs + salt.
  2. slowly + flour until a sticky wet ball of dough is formed.
  3. knead in the bowl for about 5 min, it should be a smoother ball of dough.
  4. Lightly oil the ball of dough in the bowl.
  5. Proof until the dough doubles in sizes, about 6 hours.
  6. Now the tricky, choose how many strands you want. I like having 6 braid challah. So separate your dough into 6 equal parts. Form a strand by rolling with your hand. The thinner it is the longer your challah will be and make sure that they are all uniform. Once you have 6 strands braid them.
  7. Place the uncooked challah on a cooking tray for the final proof, about 1 hour.
  8. Preheat your oven to 195Cº
  9. prepare your egg wash by combining +yolk+water+honey.
  10. and gently brush the egg wash on.
  11. Sprinkle your topping of sesame, nigella, palm sugar or whatever you want
  12. Cook for 35-40min until the top of the challah is a deep brown.

Candied citrus peels & ginger and citrus sugar syrup

In an effort to throw out less food, found out that a great use for peels is to candy them (and save a massive amount of money cause candied citrus peel are EX-PEN-SIVE). You can also use them for tea, meat dishes and infuse liquor.  They also keep very well in the freezer. I have been saving citrus peels in a freezer bag over the months. Never throw out your citrus peels. I also have been freezing some cut ginger strips to use in curry recipes and co, and decided to candy that as well. Went a bit candy mad.

IMG_7796

you actually get three things for the price as well – candied peels, sugar syrup and citrus sugar.

Lesson learned – I think it does need a bit of forethought to what you are planning to do with them so you can cut them to the appropriate size. For example, thin strips if you want to make chocolate candied orange strips or add them to cakes. I had mix use for this one and just left it in big strips. Although I wish I had cut them into smaller thinner strips, I have a feeling it would have been quicker and easier to candy. Some of it is going to go to friends and family but my main reason was for mince meat for the Christmas mince pie. You can never prepare too soon for mince pie season as the longer you leave the mincemeat to soak up that brandy goodness the better it is apparently. In terms of cooking, I think I wider is better than a deeper pan to candy the peels in. Another great product that you get from candying your citrus is sugar syrup which is great for cocktails. Another note – I tend to use natural cane, not white sugar. So in this case (cane caster and damara) did slightly affect the colour of the syrup making it brownish. The candied fruits also look like they’ve been a bit too long in the sun and have a nice deep tan. I think to get a bit of nicer colour, especially for the sugar syrup, use white sugars. IMG_7794

The basic idea is super simple. The basic premise is boiling the peels in 1 part sugar 1 part water.

IMG_7778

Some other variation to try for next time is adding different flavour components. For example, The Telegraph adds black peppercorn and cardamons. Will dig out my flavour thesaurus next time and see how I can spice it up (that’s right spice it up! get it?).

Ingredients

  • water
  • citrus peel, ginger and whatever else you want to candy
  • sugar (caster and damara)

recipe

  1.  All your peels in a pot boiling water for 10 minutes.
  2. Drain, rinse and drain.
  3. Bring 4 cups damara sugar and 4 cups water and bring up to boil. It should just cover the peels so add less/more of water/sugar depending on how much you have. while stirring to dissolve sugar.
  4. + peel. Return to boil.
  5. Reduce heat to a simmer and cook peels until very soft turning slightly translucent. For me, that was about 1 hour. Do not stir! it will crystallise your sugar syrup. Instead, move the pan in a circular motion.
  6. Drain peels saving that delicious sugar syrup.
  7. Let the peels cool a little and then toss peels in some sugar.
  8. Put some caster sugar on a baking sheet and transfer the peels on to the baking sheet. Drizzle some more sugar on the peels.
  9. Leave the peel to further air dry for 1 day to 2 days. So that the sugar crystallises Swat anybody trying to eat them.

Sourdough Brioche 2017- que ce que ça cloche!

Brioche time. Brioche is basically super rich bread with eggs and butter. Sourdough brioches are pretty to easy to make but they do require time and patience. This recipe is not too sweet as it uses honey. You can use 35 grammes of sugar instead.  The inspiration for the recipe is from here and here.

I haven’t made brioche since last year. Last year I used orange sugar which I think was a nice touch and really the only redeeming feature of the brioches that I made. Looking back on the post there has definitely been great strides and progress made in 1 year.

brioche1

This year brioches are definitely looking a lot better and are much fluffier and just much more brioche-y.

IMG_6608

This recipe’s use of butter is definitely reminiscent of the chef Gary Rhodes whose oft-repeated phrase is add another spoon of butter.

Eggwash notes: I used the egg white and milk for convenience since the recipe calls for one yolk. But if you want a different effect on the brioche you can go to epicurious or cooksinfo website that really get into the ins and out of all the different types of eggwash.

Ingredients

  • 230g bread flour
  • 270g all purpose flour
  • 50g honey
  • 10g salt
  • 3 eggs + 1yolk eggs
  • 250g starter
  • 275g room temperature butter
  • 225g milk
  • 1/2 zest of lemon

Recipe

  1. Cut the butter in small 1cm pieces and leave out to soften
  2. Mix all ingredient in a bowl except the butter –  milk + lemon zest +honey+ eggs+ flour + starter. Keep the egg white from the 4th egg as you will use it later for the egg wash
  3. Mix well, let it rest for 15min and mix well again.
  4. +butter. Mix gently until all the butter is incorporated. You should massage it in but I ended up mixing it in the kitchen aid and it seem to be alright. The dough should have a nice shine to it.
  5. Put in a covered container and leave in the fridge to rise for 24 hours.
  6. On a lightly floured surface shape the dough and in your baking tins.
  7. Final rise should be at room temperature for 3 hours.IMG_6616IMG_6619
  8. preheat the oven at 215Cº.
  9. prepare the egg wash 3 tablespoons of milk + egg white and mix vigorously.
  10. gently brush the egg wash on the brioche dough.
  11. Bake for 25min for medium shape brioche, until the top are nice and golden brown.brioche raising

Tadah!

brioch 2

Aniseed macaroons with pastis &rose cream gelato

My dear readers, it has been a hectic couple months with work, excessive drinking, Christmas cooking, and family. But here we are dry January. No drinking to do and no hangover contemplating what it all means and what terrible mistakes I have done, and what is the meaning of it all really. I miss drinking. Anyways Christmas brought a new love in my life: a brand spanking new kitchen aid! And the kitchen aid ice cream maker! (slightly suspect this has been a self-serving gift from loved ones….)

Anyways after seeing these amazing unicorn macaroons, I thought I could totally do macaroons. And off I went to dig up my copy of Les Petit Plats Francais: Irresistible Macaroons by José Maréchal.

IMG_5728

I can’t say I recommend the book, upon looking at the reviews now, I can see I am not alone. The recipe instructions are confusing and as you will see I am positive that the oven temperature is wrong. That being said they do have some nice flavour combination. I think it’s a good inspiration book maybe.

Instead, the macaroons became more of a journey than a destination, full of discoveries with high and lows and success grabbed from the jaw of defeat.

IMG_5691
reality vs expectation

I have learned several things while making this. First is that I have been using the piping wrong and there is this super easy, obvious way to filling up your piping bag demonstrated wonderfully by thekitchn. Second, the oven should definitely be over 145ºC.

IMG_5694


Left the macaroon for over 20 min (vs recommended 13min) and let them cool but unfortunately, as I tried to *gently* scrap them off they just completely disintegrated. The middle still a bit wet and undercooked.


I had a bowl full of macaroons deconstructed and wasn’t too sure what to do with them. Eton mess ran through my mind maybe but is January. Having Eton mess in January would have been obscene. The aniseed cream filling is also very close to gelato recipe. Hence this could be the macaroon version of cookie and cream ice cream! Genius! And perfect to go with Galette des Roi! (in which I decided to make my own puff pastry which I will not go into but it ended with the oven full of butter and a smoky kitchen, but that is another story maybe for another post…..)

This recipe requires an ice cream maker (obviously). If you have something like the kitchen aid ice cream maker make sure the bowl has been in the freezer for at least 12 hours before using it.

Ingredients

  • 1 serving of fucked up undercook aniseed macaroons
  • 600ml milk
  • 5 eggs
  • 90 grams sugar
  • 10 grams honey
  • 1/4 tsp Pastis
  • 1/4 rose water

Recipe

    1. Warm up the milk in a saucepan on a low -medium heat making sure is does not boil.
    2. Add the eggs + sugar +honey and whisk until it is well combine
    3. Take off the heat and add the pastis + rose water, whisk until well combine.
    4. Pour the mixture into a tupperware and put in the fridge for at least 4 hours. It can’t be sped up in the freezer, something to do about the fats forming according to Felicity Cloak.
    5. Pour your mixture into the kitchen ice cream frozen bowl and throw your chunks of macaroons in. Try to keep everything as cold as possible to prevent any melting – put the spatula and container you will saving your ice cream in the freezer while the gelato is being made.
    6. Put your kitchen aid speed 1 and watch in amazement the cream turning into gelato for 15 min.IMG_5702
    7. Scoop your gelato out into a cold container and put cling film on the surface. This helps stop the top from crystallisation. The gelato will be quite soft. To harden up it put in the freezer for 3-4 hours.

IMG_5709  1

Enjoy!

Wish I had thought to add cardamon to cream with anise macaroons and had added a bit of pink food colouring to really make the green macaroon pop. But really enjoyed the macaroon and cream gelato.

The possibility of different combination are endless, may I never succeed to make a macaroon! Coffee macaroons with cardamon, cinnamon and nutmeg cream, or salted caramel macaroon with pollen and mascarpone cream or Chocolate macaroon with tahini cream…..

Sunday cake: Halva and tahini cake.

Managed to find my old recipe book from 6 years ago.

buttermilk pancakes


To celebrate finding it and mothering Sunday made some buttermilk pancake. This absolutely my favourite pancake recipe in the world. They come out incredibly soft and fluffy. The  recipe from 2011 which seems I think it vaguely from Martha stewart. Love seeing my notes on there.

Really excited to have it back, so expect loads of baking recipes like clafouti, madeleines, biscottis and finiaciers soon.


Anyways, on a bit of bread break/rut. I have ordered some bread proofing basket so hopefully I will be back on my sourdough bread baking groove soon. In the mean time I have been doing some sunday cake baking, and found this wonderful tahini chocolate cake with halva frosting. I have modified slightly because it is a bit of a weird recipe. Well for me at least, never made sponge cake or frosting. The boiling water thing is quite weird but all in all it turned out quite well.

Ingredients:

  • Cake:
    • 2 cups and 2 tablespoons sugar
    • 1 3/4 cup flour
    • 3/4 and 2 tablespoons cocoa powder
    • 1 1/2 teaspoons baking powder
    • 1 1/2 teaspoons baking soda
    • 1 1/2 teaspoons salt
    • 2 eggs
    • 1 cup milk
    • 2 tablespoons vegetable oil or coconut oil
    • 6 tablespoons tahini
    • 1 teaspoon vanilla
    • 1/2 cup boiling water
  • Forsting:
    • 400 grams butter at room temperature
    • 1/2 cups powdered sugar
    • 500 grams halva (of any flavor)
    • 2 teaspoons vanilla

Recipe:

  1. Preheat the oven to 185ºC
  2. In a large bowl mix all the dry ingredients: sugar+ flour+cocoa powder+baking powder+baking soda+salt.
  3. In a small bowl whisk all the wet ingredients: eggs+vegetable oil+tahini+vanilla.
  4. Mix the wet and dry ingredient in the large bowl while the water is boiling.
  5. Pour the boiling water in the cake mixture. Mix well and divide the mixture evenly into 2 cake tins.
  6. Bake for 30min or until cooked (when you stick a toothpick and it come out clean)
  7. leave the cake to cool
  8. Meanwhile for the frosting: cream the butter + sugar and then mix in the  halva+vanilla.
  9. when the cakes has completely cooled, frost the top of one of the cake and add the the second on top. Then frost the cake completely. I toped it off with dried rose petal and sesame seeds.

cake

Tadah! my frosting skills need a little work. Little side note, left over frosting can be saved in an airtight container in the fridge for about 4 days or 3 months in the freezer. Enjoy.

Sandy cake – Bread brake –

On a bit of bread brake, but a lovely friend of mine sent me a recipe for my name sake cake, called the sandy cake. It came from Dolce by Laura Zavan. I am a bit biased but it tasted really nice. It was a bit like if a sablé cookie did the dirty nasty two back monster with a Victoria sponge. Not so much a proper desert cake but something really lovely to have with tea and coffee. You could also dress it up with a lime, cardamon and rose icing or lemon and thyme icing.

1.png

Sandy cake -Torta sabbiosa- recipe that I made uses no leavening agent, which I found quite interesting. An amazing post and recipe with baking powder but no vanilla can be found on bread cakes and ales website here with a mascarpone cream. The leavening agents obviously make the cake much more airy. It also seems that the leavening agent is what makes differentiate a torta paradiso from its closely related sister the sandy cake. Although I am not too sure I have found loads of variation on the sandy cake for example some recipe use part potato starch, part cornflour.

Other notes on the ingredients, is you can exchange the vanilla bean for vanilla extract if you finding/affording (it is annoyingly expensive ingredient) a vanilla bean is a bit too much. One vanilla bean = 3 teaspoon of vanilla extract. Another slightly confusing note is that there seem to be a genuine difference between potato starch and flour (one uses just the starch while the other uses the whole potato), but in this recipe you want potato starch. It seem the confusion comes from potato starch is called potato starch flour. Potato starch can be found in Holland and barrets here in the UK. If you can’t find potato starch I think the closest replacement would be cornflour.

Anyways without further faff, You will need a 22-24 cm cake tin.

Ingredients:

  • 200 gram soft butter
    • Plus extra for greasing
  • 1/2 vanilla bean
  • 200 gram icing sugar
    • extra for dusting
  • 3 eggs
  • 100 grams of all purpose flour
    • plus extra to flour the cake tin
  • 100 gram of potato starch
  • 1 pinch of salt

Recipe:

  1. Leave the butter out at room for the an hour so that the butter should be soft.
  2. preheat the oven to 170ºC.
  3. In a large bowl cream the butter+vanilla seeds +icing sugar
  4. whisk the egg separately in a small bowl.
  5. Slowly add the whisked eggs to the cream butter mix until well incorporated.
  6. Sift the flour + potato starch together in a separate bowl before slowly adding to the main mixture.
  7. Finally add salt and mix well. You should have a nice white thick even pasty mix.
  8. With the extra butter grease and flour your cake tin. Pour your batter in and make sure that it evenly distributed.
  9. Bake for 40min or until golden on top and let cool in the tin for an 1 hour.
  10. Remove from the tin and dust with icing sugar or pour your icing.


IMG_9741.jpg